Plasma Cutter Version Specific Setup
TBD - The Author doesn’t own this verison so will need help from others
Section 20a: Supplies Needed
- Parts Needed:
- V-Wheels (4)
- Bearings (8)
- M8 Washers (4)
- M8 machine screws short (4)
- M8 machine Screws long (4)
- M8 Lock Washer (4) (I think) could be regular M8 washers
- M8 eccentric spacers (4)
- M8 Nuts (4) I think
- Aluminium Extrusion(1)
- Limit Switch (1)
- M3x20mm machine screws (2)
- Limit Switch Wiring Harness (1)
- Plasma Plate Halves (2)
- Magnet plate and black mounting screw
- TBD other parts I can’t tell from the picture
- Tools Needed:
- Hex Keys
- Socket Wrenchs
- M8 Wrenchs
- #1 or #2 Phillips Head Screw Driver
Note
While not advertised yet on the site a THC can be ordered separately from MillRight for $249 if you mail sales.
Section 20b: Set up the V-Wheels
Please just follow the same process as Option 1: Derek’s Hammer Method
Section 20b: Setting up the Plasma Mount
Someone with a plasma version please give feedback
Pictures courtsey of Dan Zakula Jr.
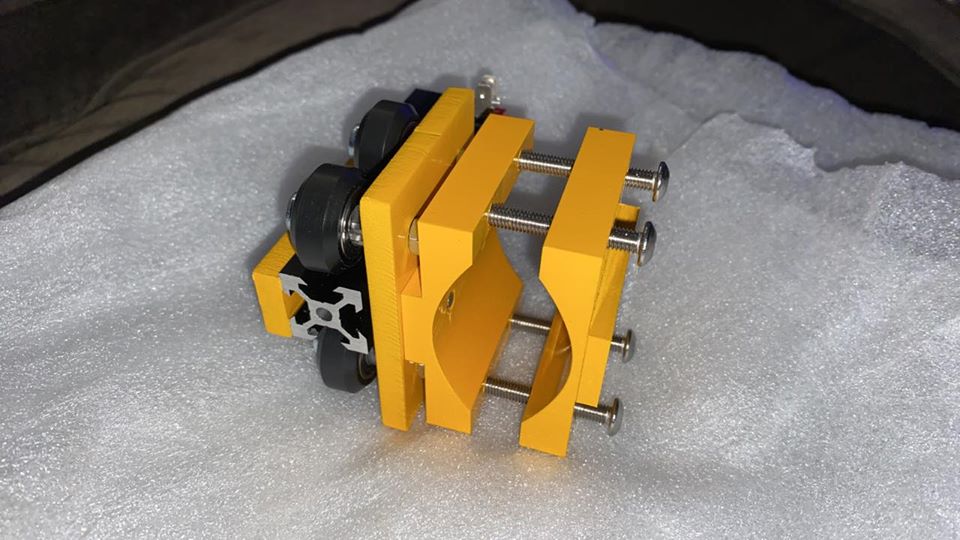
Based on the pictures it looks like you do the following:
- Place a M8 Lock washer on each of the short M8 screws
- slide a V-Wheel down the Screw shaft
- Slide a eccentric spacer after the V-Wheel
- Pass the screw into the Back of Plasma mount
- Slip a M8 Nut between the 2 plates of the back plate holding it with a wrench or needle nose pliers
- Using a phillips head screwdriver secure the V-Wheel to the Nut
- Repeat for the remaining 3 V-Wheels
- Secure the front router plate to the back plate with the 4 long M8 screws
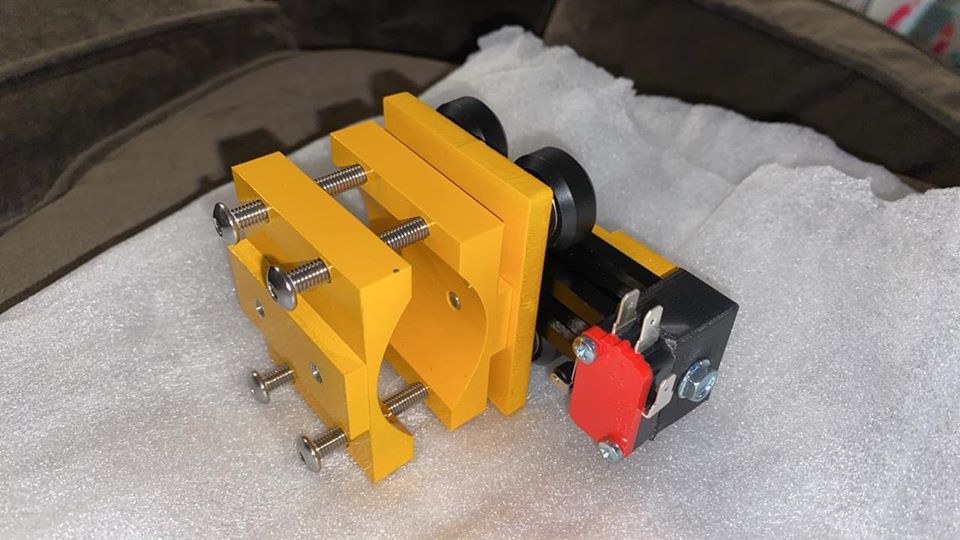
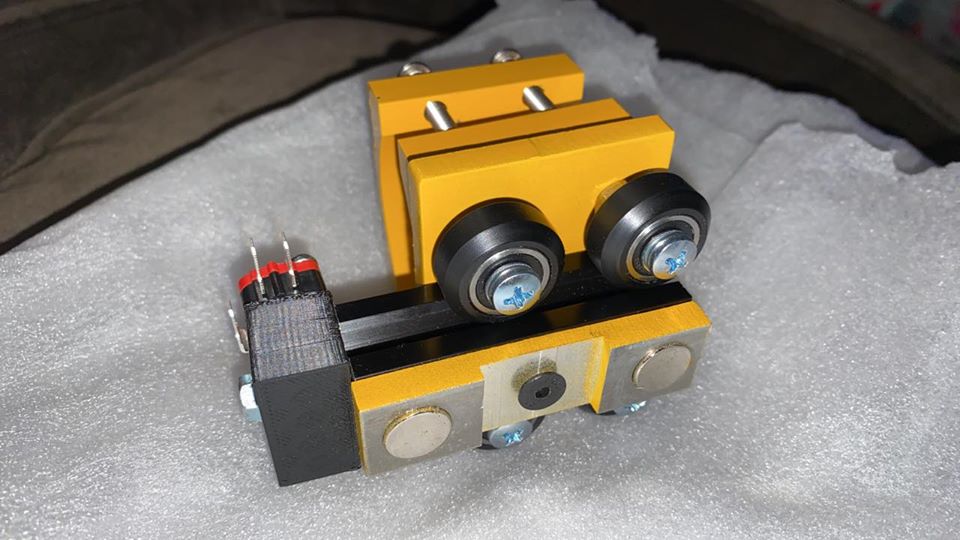
- Secure the magent plate to the aluminium extrusion with the black flat head screw
- Using 2 m3 screws secure the homing switch to the 3d printed block
- Secure the 3D printed block to the aluminum extrusion with the appropriate screw
- Slide the Extrusion between the V-Wheels
- Tighten the eccentrics on each V-Wheel
Section 20ac: Setting up the Plasma Table
TBD