Section 16: Home Switch Installation and Connection
Section 16a: Supplies Needed
Parts Needed:
Supplies in Homing kit bag #. M3x20mm machine screws (6) <CONFIRM>
- M5x30mm machine screw (2) <CONFIRM>
- M5x40mm button cap screw (1)
- M5 Washer (2)
- M5 Split lock washer (1)
- M5 Hex Nut (1)
- Aluminium Spacer (2) <CONFIRM>
- M5 Drop-in T-Nut (2) <CONFIRM>
# M3 Nylock Nuts (6)
- X Homing Switch (1500mm long) (1)
- Y Homing Switch (1000mm long) (1)
- Z Homing Switch (1)
- Homing Switch Mounting Plate (2)
Tools Needed:
- #2 Phillips head screw driver
- 2.5mm Hex Key
- Needle Nose Pliers or 5.5mm socket wrench
Section 16b: Installing the X-Homing Switch
YouTube Bookmark: https://youtu.be/jbYK1Pekhf0?t=3003
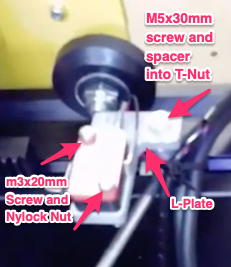
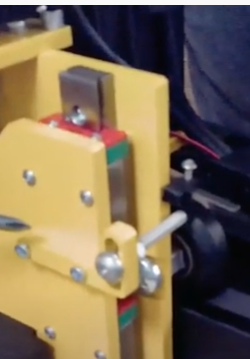
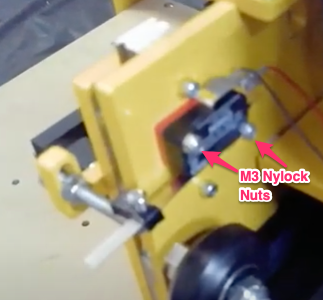
X-Homing Switch Installed
Get the L Plate and place the X Homing Switch on it with the reed facing the foot of the L
Insert 2 M3x20mm screws into the 2 holes in the Homing Switch
Attach the 1500mm wire to the Homing Switch. Black goes to the blade connector on the long side, Red to the short side on the connector closest to the black wirw
Using the hex key and either needle nose pliers/5.5 mm socket secure the screws with 2 M3 Nylock Nuts
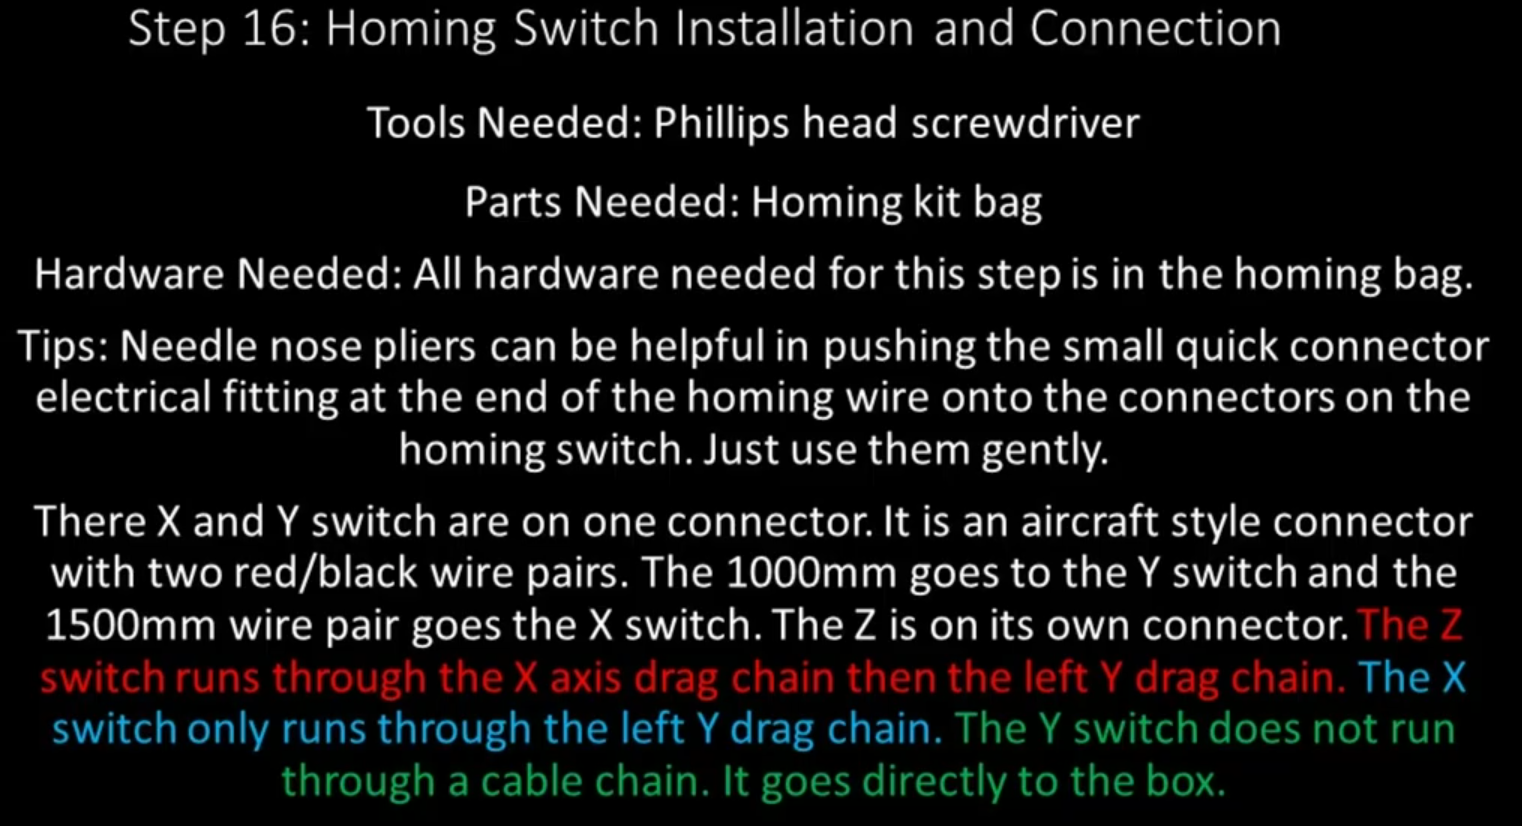
Place a drop in T-Nut into the T Track on the Left side
Slide the M5x30mm machine screw through the hole in the L of the L-plate
Slide an Aluminium spacer onto the M5x30mm machine screw
Secure the M5 Screw into the T Nut
Slide the X Gantry until it hits the Homing switch
Securely tighten the M5 screw into the T-Nut
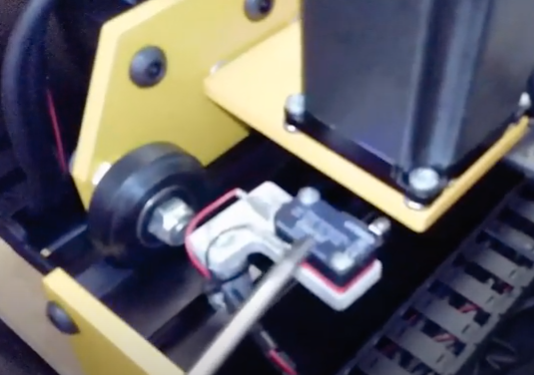
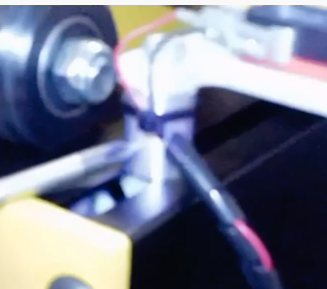
Use a ziptie to secure the homing wire cable to the spacer
Route the homing switch wire into the drag chain
Section 16c: Installing the Y-Homing Switch
YouTube Bookmark: https://youtu.be/jbYK1Pekhf0?t=3081
Y-Homing Switch Installed
This is basically the same process as for the X-Homing Switch
Get the L Plate and place the X Homing Switch on it with the reed facing the foot of the L
Insert 2 M3x20mm screws into the 2 holes in the homing Switch
Attach the 1000mm wire to the Homing Switch. Black goes to the blade connector on the long side, Red to the short side on the connector closest to the black wirw
Using the hex key and either needle nose pliers/5.5 mm socket secure the screws with 2 M3 Nylock Nuts
Place a drop in T-Nut into the T Track on the back Left side by the X Homing Switch
Slide the M5x30mm machine screw through the hole in the L of the L-plate
Slide an Aluminium spacer onto the M5x30mm machine screw
Secure the M5 Screw into the T Nut
Slide the Y Gantry until it hits the Homing switch
Securely tighten the M5 screw into the T-Nut
Use a ziptie to secure the homing wire cable to the spacer
Route the homing switch wire into the drag chain
Section 16d: Installing the Z-Homing Switch
YouTube Bookmark: https://youtu.be/jbYK1Pekhf0?t=3189
Z-Homing Switch Installed
On the Z Router Assembly go back to the Z Homing bracket that was installed earlier
Install 2 M5 washers onto the M5x40mm screw
Insert the screw+washers into the Z Homing bracket
On the other side of the bracket place an M5 Lock Washer on the screw and an M5 Hex Nut
Slide the screw to about the middle of the slot in the bracket and tighten the Nut
Attach the remaining wire to the Homing Switch. Black goes to the blade connector on the long side, Red to the short side on the connector closest to the black wirw
On the other side of the Z Router Assembly you will position the homing switch so the blade extends off of the side of the Router plate
Take 2 M3x20mm machine screws and pass them through the front of the router plate and through the holes on the homing switch
Secure the homing switch with 2 M3 Nylock nuts using a hex key and needle nose pliers or a 5.5mm socket
Rotate the Coupler to lift the Z-plate and wait for it to Click the Z Homing Switch
Ensure that the click occurs just before the Z-Plate hits the Coupler to ensure you get maximum Z-axis travel

- Route the homing switch wire into the drag chain